Treating yourself to a manicure doesn’t have to mean booking an expensive salon appointment. With the right tools and techniques, you can achieve beautifully manicured nails from the comfort of your own home. In fact, at-home manicures can be just as relaxing, with the added benefit of saving time and money. Here’s a step-by-step guide to giving yourself a salon-quality manicure along with the top ten tips to make it look perfect!
Step 1: Gather Your Tools
Before you start, make sure you have all the essentials handy:
- Nail file
- Nail clippers
- Cuticle pusher and nippers
- Buffer
- Cotton pads or swabs
- Cuticle oil or cream
- Nail polish remover
- Base coat, nail polish, and top coat
- Hand lotion or moisturizer
Step 2: Clean and Prep Your Nails
The first step to a flawless manicure is starting with clean nails. Remove any old polish with a gentle, non-acetone nail polish remover, which is less drying for your nails. After removing polish, wash your hands with warm water and soap to cleanse any remaining debris.
Step 3: Trim and Shape
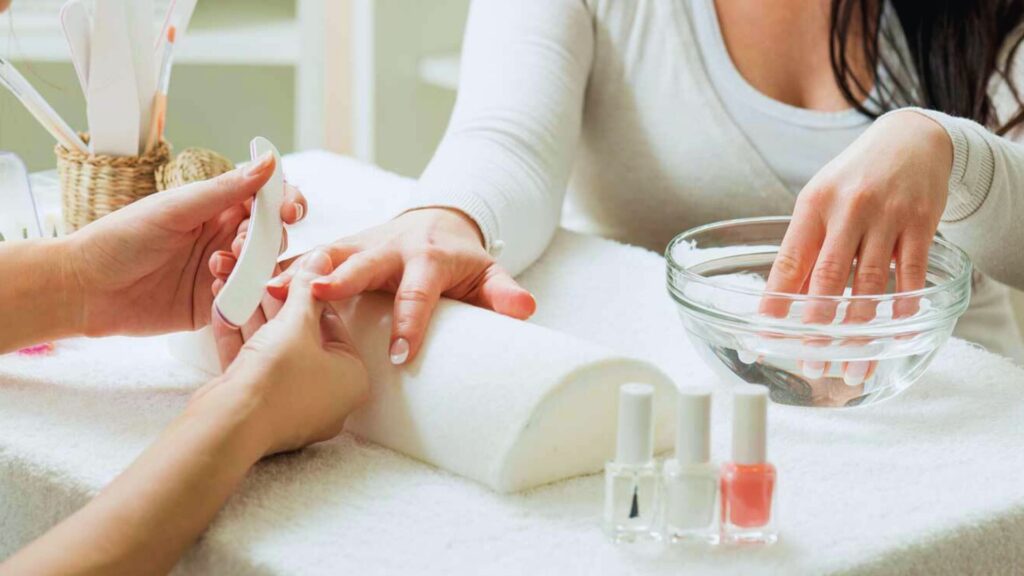
Use nail clippers to trim your nails to the desired length. Next, take a nail file and shape the edges. For a more natural look, file in one direction instead of sawing back and forth, which can weaken the nails. Popular shapes include square, oval, and almond, so choose one that suits your style and complements your nail bed.
Step 4: Soak Your Hands
Fill a small bowl with warm water and add a few drops of gentle hand soap. Soaking softens your cuticles, making them easier to push back. Soak your hands for about five minutes, then pat them dry with a towel.

Step 5: Gently Push Back Cuticles
Using a cuticle pusher, gently push your cuticles back. Avoid trimming them too much, as cuticles protect your nails from infection. If you see any hangnails or excess skin, carefully trim them with cuticle nippers.
Step 6: Exfoliate and Moisturize
Now it’s time to pamper your hands! Use a gentle hand scrub to exfoliate dead skin cells, focusing on your fingers and around the nail bed. Rinse your hands, pat them dry, and follow up with a rich moisturizer or hand lotion to hydrate your skin.
Step 7: Buff Your Nails
To achieve that natural shine, gently buff the surface of each nail. Buffing helps smooth ridges and adds a nice finish. However, don’t overdo it, as buffing too often can thin your nails.
Step 8: Apply Cuticle Oil
Nourish your cuticles with a few drops of cuticle oil. Massage it into the nail bed and surrounding skin. This step keeps the cuticles healthy and adds a touch of hydration that makes your nails look professionally done.
Step 9: Start with a Base Coat
A base coat is essential for a long-lasting manicure, as it provides a smooth canvas and protects your nails from staining. Apply a thin layer and allow it to dry completely before moving to the next step.
Step 10: Apply Nail Polish and Top Coat
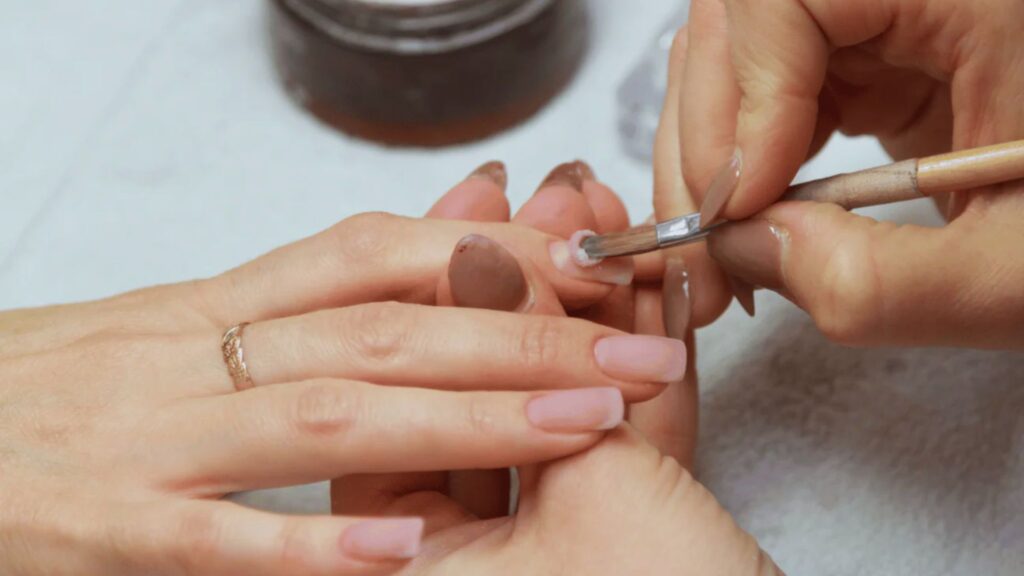
Now for the fun part! Apply your nail polish in thin, even coats. Start with one coat and allow it to dry, then add a second layer for full coverage. Finish with a top coat to seal the color and give your nails a glossy finish. A top coat also helps prevent chipping, making your manicure last longer.
Top 10 Tips for a Perfect At-Home Manicure
Now that you have the basic steps, here are some pro tips to make sure your at-home manicure turns out perfectly every time.
1. Choose Quality Tools
Invest in high-quality tools, such as a good nail file, buffer, and cuticle nippers. These tools make a noticeable difference in the final result and will last longer than cheaper alternatives.
2. File in One Direction
When shaping your nails, always file in a single direction rather than back and forth. This reduces the risk of nail splitting and creates a smoother edge for a more polished look.
3. Use Non-Acetone Remover
Non-acetone nail polish remover is gentler on your nails, reducing the risk of brittleness and drying. If you paint your nails frequently, this switch can help maintain nail health.
4. Don’t Skip the Base Coat
A base coat not only protects your natural nail from staining but also helps the polish adhere better, ensuring longer wear.

5. Practice the 3-Stroke Technique
When applying polish, use the three-stroke method for even coverage. Start with a swipe down the center, followed by two strokes along each side. This method prevents streaks and gives your nails a smooth, even look.
6. Clean Up Mistakes with a Brush
If you make a mistake, dip a small brush (or a cotton swab with pointed tips) into nail polish remover and gently clean up the edges. This keeps your manicure looking neat and professional.
7. Don’t Forget to Cap the Tip
“Capping” is when you swipe a little polish along the tip of your nails after applying a coat. This technique reduces chipping and extends the life of your manicure, especially around the tips.
8. Use a Fast-Drying Top Coat
Fast-drying top coats are convenient and prevent smudges. Apply a fast-drying top coat right after the polish to seal the color and add shine.
9. Reapply Top Coat Every Few Days
To keep your nails looking fresh and chip-free, apply an additional layer of top coat every couple of days. This helps prolong the manicure and maintains its glossy finish.
10. Take Care of Your Hands Daily
Hand care is essential to maintaining a beautiful manicure. Moisturize your hands and cuticles regularly, and wear gloves when doing household chores to protect your nails from chemicals and excess moisture.
Final Thoughts
Doing a manicure at home can be both relaxing and rewarding, and with practice, it’ll soon become second nature. Remember, taking the time to prep and care for your nails is the secret to a stunning, long-lasting manicure. Enjoy the process, and don’t be afraid to experiment with different colors and designs as you perfect your skills.


Leave a Reply