
Nail extensions are a popular beauty trend, allowing you to achieve longer, stylish nails without waiting for them to grow naturally. While nail salons offer professional services, you can easily master the art of nail extensions at home with the right tools and techniques. Whether you’re looking for acrylics, gels, or simple press-ons, this guide will take you through the process of creating flawless, durable nail extensions in the comfort of your own home.
Benefits of Doing Nail Extensions at Home
Before diving into the tutorial, let’s discuss the advantages of DIY nail extensions:
- Cost-Effective: Salon visits can be expensive, especially if you like maintaining your nails regularly. Doing it at home reduces the cost significantly.
- Convenient: No need to book appointments or wait in line. You can create your nail extensions anytime, at your own pace.
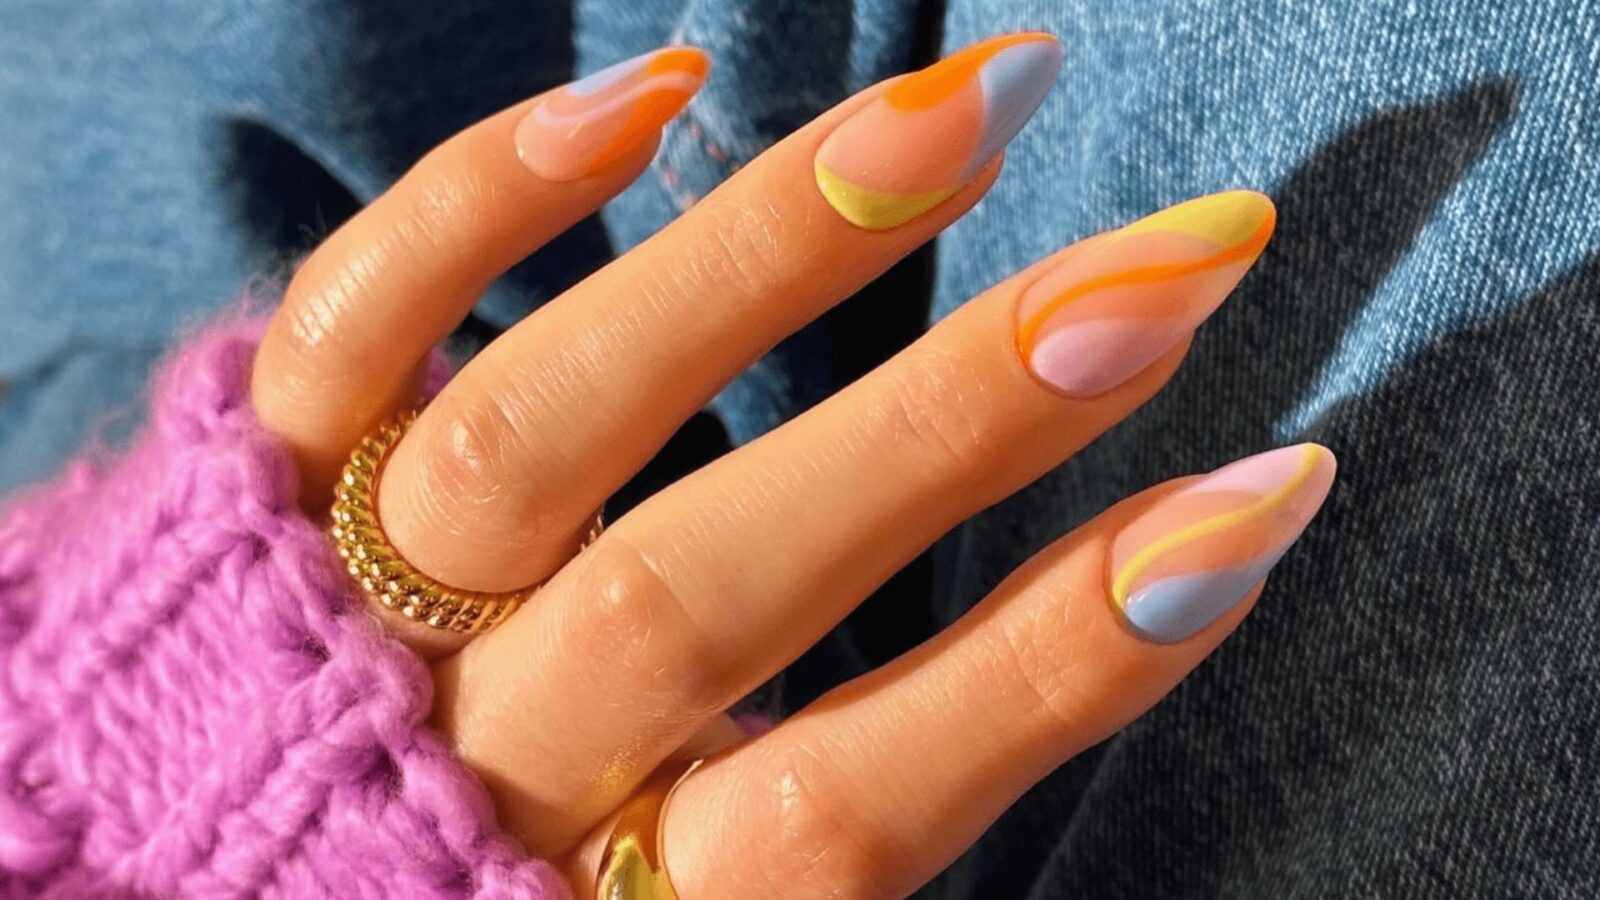
- Creative Control: Doing your nails at home allows you to experiment with different lengths, shapes, colors, and designs.
- Skill Building: With practice, you can become proficient, possibly saving even more money in the long run.
Step-by-Step Guide to Nail Extensions at Home
Tools and Materials Needed:
Before getting started, you’ll need to gather the following tools, depending on the type of extensions (acrylic, gel, or press-ons) you’re aiming to create:
- Acrylic or Gel Nail Kit:
- Acrylic liquid (monomer)
- Acrylic powder
- UV/LED lamp (for gel extensions)
- Gel nail polish (for gel extensions)
- Nail forms or tips
- Nail glue (for tips)
- Nail files and buffers
- Cuticle pusher
- Nail clippers
- Base and top coat
- Press-On Kit (if using press-on nails):
- Pre-made press-on nails
- Nail adhesive or glue
- Nail file
- Cuticle oil
- Other Essentials:
- Lint-free wipes
- Rubbing alcohol or acetone
- Nail brush
- Small bowl (for monomer or acetone soaking)
- Nail dehydrator and primer (for acrylics or gels)
Step 1: Prepare Your Nails
Before applying extensions, nail prep is key to achieving a long-lasting result. This step ensures that the adhesive or extension material will bond properly to your natural nails.
- Clean and Trim: Begin by washing your hands and nails. Remove any old nail polish using a non-acetone remover if necessary. Trim your nails and gently file them to create a smooth surface.
- Push Back Cuticles: Use a cuticle pusher to gently push back your cuticles. This ensures a neat application and prevents the extensions from lifting prematurely.
- Buff and Dehydrate: Lightly buff the surface of your nails with a nail buffer to remove shine. Follow up by wiping the nails with rubbing alcohol or nail dehydrator to eliminate oils and moisture. This step is critical in preventing the extensions from lifting.
Step 2: Choose the Type of Extensions
There are different types of nail extensions that you can apply at home. Each has its own pros and cons. Choose the one that suits your skills and preferences.
- Acrylic Extensions: Acrylics are a mixture of a liquid monomer and acrylic powder, creating a hard protective layer over your natural nails. They are durable and can last up to 2-3 weeks.
- Gel Extensions: Gel extensions are applied similarly to acrylics but involve using a gel product that is cured under a UV/LED lamp. Gel nails offer a glossy finish and flexibility, making them a comfortable option.
- Press-On Extensions: For those who want a quick and easy solution, press-ons are pre-made nails that you glue onto your natural nails. They come in various sizes, shapes, and designs and are a great temporary option, lasting around a week.
Step 3: Apply the Nail Extensions
Once you’ve prepped your nails and chosen the type of extension, it’s time to apply them. The application process varies depending on the type of extensions you’re using.
For Acrylic Extensions:
- Apply Tips or Forms:
- If you’re using tips, select the correct size for each nail and adhere them using nail glue. Trim them to your desired length and shape using a nail clipper.
- If using forms, place the form underneath the free edge of your nail. This will act as a base for the acrylic product.
- Mix Acrylic: In a small dish, pour the acrylic liquid (monomer) and dip your acrylic brush into it. Then dip the brush into the acrylic powder to create a bead. The bead should be wet but not runny.
- Apply Acrylic: Apply the acrylic bead to the nail, starting at the center and spreading it evenly toward the cuticle and tip. Be careful not to touch your cuticles, as this can cause lifting. Work quickly as acrylic sets fast.
- Shape and File: Once the acrylic has set, file and shape the nails to your desired style. Use a buffer to smooth out any rough edges.
- Finish: Apply a base coat, followed by your choice of nail polish color. Finish with a top coat for added shine and protection.
For Gel Extensions:
- Apply Tips or Forms: Apply tips using glue or forms under your nails as a base.
- Apply Gel: Start by applying a thin base coat of gel, then cure it under a UV/LED lamp. Next, apply a layer of builder gel, sculpting it into the desired shape and length. Cure under the lamp for 1-2 minutes.
- Layer and Build: Continue building up the layers of gel until you’ve achieved the desired thickness and strength. Cure between each layer.
- File and Shape: Once the gel has fully cured, file and shape the nails to your liking. Buff them smooth, and clean any dust with a lint-free wipe soaked in rubbing alcohol.
- Finish: Apply a top coat and cure one last time under the lamp. Your gel extensions are now complete!
For Press-On Extensions:
- Size and Prep: Select the right size for each press-on nail and lightly file the back of the press-on for better adhesion.
- Apply Glue: Apply a small amount of nail glue to both your natural nail and the back of the press-on.
- Press and Hold: Align the press-on nail with your natural nail and press down firmly for 30 seconds to ensure a strong bond.
- Shape and Style: If needed, file and shape the press-ons. You can also apply polish or nail art over them for a customized look.
Step 4: Aftercare Tips for Long-Lasting Extensions
- Moisturize Cuticles: Keep your cuticles moisturized with cuticle oil to maintain a healthy nail bed.
- Avoid Excessive Water Exposure: Prolonged exposure to water can weaken the adhesive or product. Wear gloves while doing household chores.
- Fill-In or Remove as Needed: Depending on the type of extension, you may need a fill-in after 2-3 weeks or removal. Avoid pulling off extensions to prevent damage to your natural nails.
Conclusion
Creating nail extensions at home is a fantastic way to maintain beautiful nails without the salon price tag. With the right tools, practice, and patience, you can achieve professional-looking results on your own. Whether you choose acrylics, gels, or press-ons, the key is preparation and precision. Start experimenting, and soon you’ll be able to master your own perfect set of nail extensions!