
Waxing at home can be an incredibly convenient and cost-effective way to maintain smooth skin without the need for regular salon visits. However, without the proper technique, it can also become a daunting task. To help you achieve salon-quality results in the comfort of your home, here are 10 simple tips for a safe, effective, and convenient waxing experience.
1. Choose the Right Wax for Your Skin and Hair Type
There are different types of waxes, and choosing the one that suits your skin and hair type is crucial for a smooth waxing experience. Here’s a breakdown:
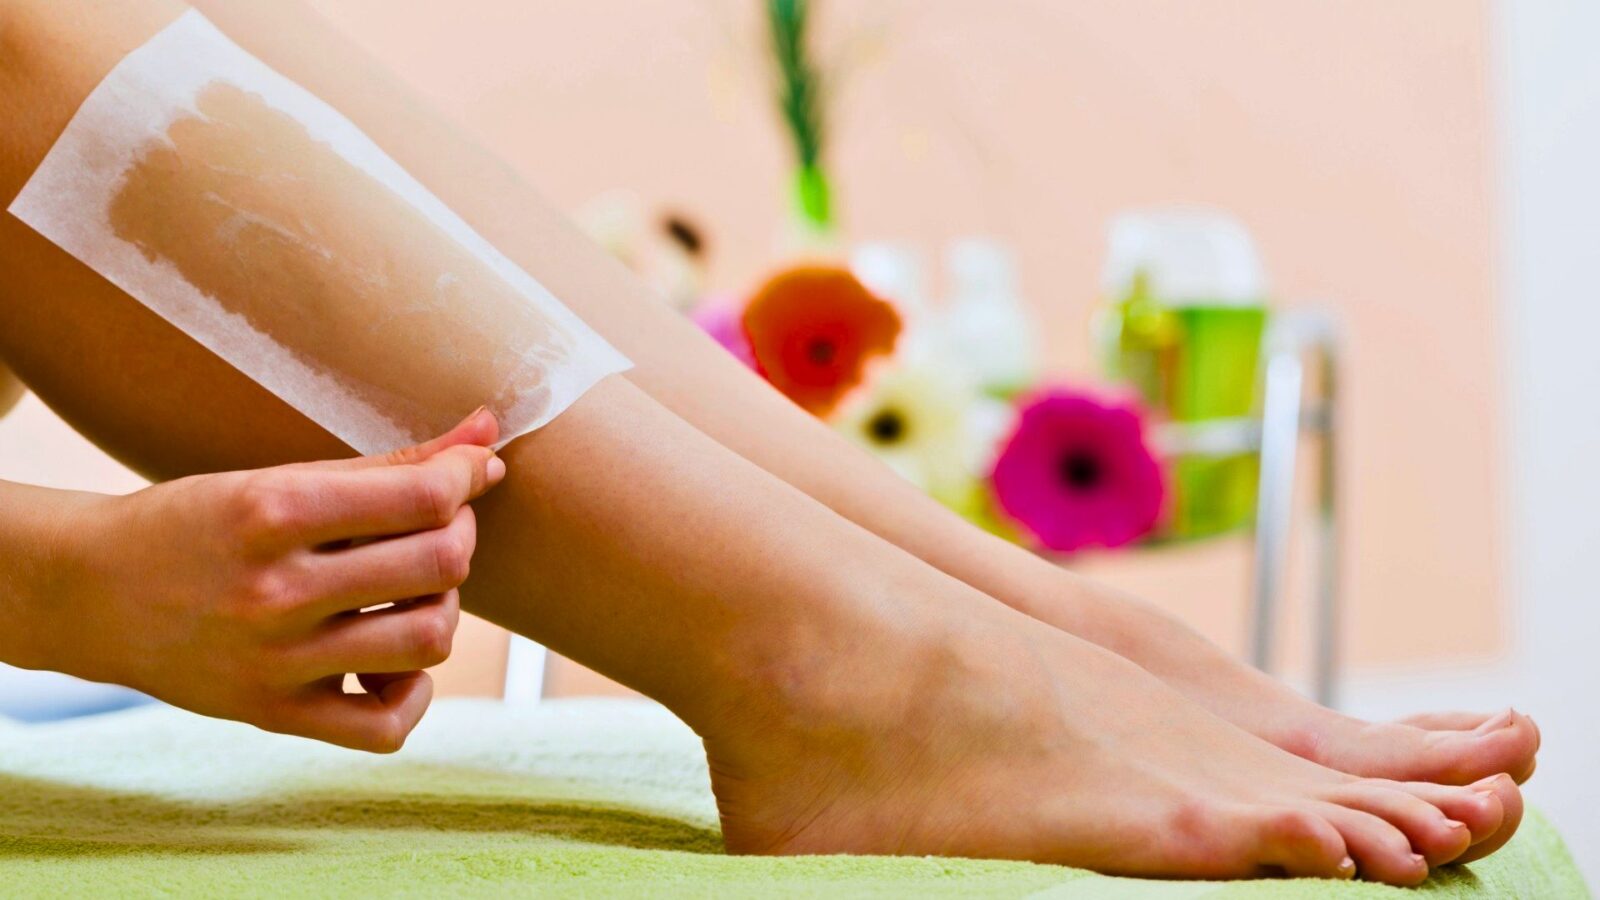
- Soft wax is typically used with cloth strips and is ideal for large areas like legs and arms. It adheres to the skin and hair, making it effective for removing fine hair, but can also be harsher on sensitive skin.
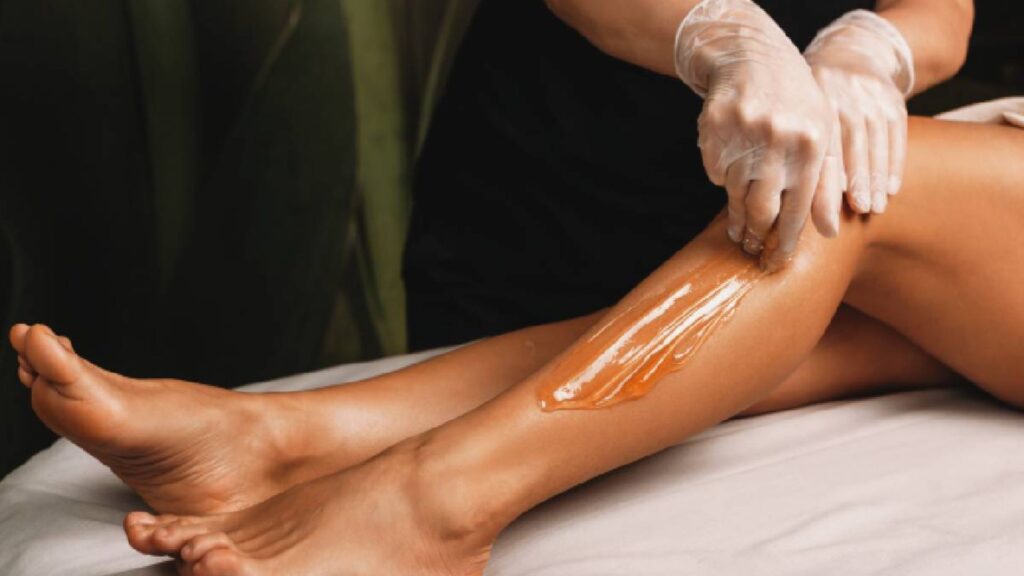
- Hard wax is applied without strips and works by hardening on the skin before being peeled off. It’s less painful because it only adheres to the hair and is perfect for sensitive areas like the bikini line or underarms.
- Sugar wax is a gentler, natural alternative, often made from sugar, lemon, and water. It’s water-soluble, making cleanup easy and a great choice for those with sensitive skin.
If you’re new to waxing, start with a patch test on a small area to see how your skin reacts.
2. Prepare Your Skin Properly
Preparation is key to getting the best waxing results and avoiding irritation. Here’s how to prep your skin before waxing:
- Exfoliate: A day before waxing, gently exfoliate the skin using a scrub or a dry brush. This helps remove dead skin cells and prevents ingrown hairs.
- Clean your skin: Make sure the area you’re waxing is clean and dry. Remove any lotions, oils, or sweat that can prevent the wax from sticking properly.
- Trim long hair: Hair that is too long (over 1/4 inch) can cause more pain during waxing. Trim the hair to about 1/4 inch for better results.
3. Test the Wax Temperature
One of the biggest mistakes people make when waxing at home is not paying attention to the wax’s temperature. Hot wax can burn your skin, while cold wax won’t stick well to the hair.
- For hard and soft wax, heat it according to the package instructions.
- Test the wax on a small area of skin, like the back of your hand, to ensure it’s at a comfortable temperature before applying it to a larger area.
4. Wax in the Right Direction
Understanding the direction of hair growth is crucial for a successful waxing session. For smooth, less painful results:
- Apply the wax in the direction of hair growth.
- Pull the strip in the opposite direction of hair growth with a swift, quick motion. This helps grab more hair from the root and reduces breakage, leaving your skin smoother for longer.
If you apply wax incorrectly, it may break the hair instead of pulling it from the root, leading to quicker regrowth and potential irritation.
5. Work in Small Sections
While it might be tempting to cover large areas with wax to get it done quickly, working in small sections is much more effective. Smaller sections give you better control and make the process less painful.
- For beginners, aim for sections no larger than 2-3 inches.
- Apply a thin layer of wax rather than a thick one to ensure it grips the hair properly.
6. Hold Your Skin Taut
Pulling your skin tight while removing the wax strip is essential for minimizing pain and preventing bruising. When the skin is taut, the hair comes out more easily, and the wax doesn’t tug on the skin as much.
- For areas like legs, use one hand to hold the skin tight and the other to remove the strip.
- For more sensitive areas like underarms or the bikini line, this step is even more important to prevent discomfort.
7. Breathe and Remove Quickly
When it’s time to remove the wax strip, do it quickly and confidently. Hesitation can make the process more painful.
- Take a deep breath, exhale, and swiftly pull the strip in the opposite direction of hair growth.
- Try to keep the strip as close to the skin as possible when pulling, rather than pulling upward, which can hurt more and might not remove all the hair.
8. Soothe the Skin After Waxing
After waxing, your skin may be sensitive and a bit inflamed. Proper post-wax care will help reduce redness and irritation:
- Apply a cooling gel such as aloe vera or a post-wax treatment to soothe and hydrate the skin.
- Avoid hot showers, sun exposure, or tight clothing for at least 24 hours, as your skin will be more sensitive during this time.
If you notice any redness or minor irritation, applying cold compresses can help soothe the skin and reduce swelling.

9. Exfoliate Regularly to Prevent Ingrown Hairs
Ingrown hairs can be a frustrating side effect of waxing, but regular exfoliation can help minimize this. A gentle exfoliator, used every two to three days, can prevent dead skin from trapping hair under the skin’s surface.
- Use a loofah or an exfoliating scrub specifically designed for preventing ingrown hairs.
- Be careful not to exfoliate immediately after waxing, as your skin will be too sensitive. Wait 2-3 days before exfoliating.
10. Maintain a Regular Waxing Schedule
Consistency is key when it comes to waxing. The more frequently you wax, the thinner and finer your hair grows back, making future waxing sessions quicker and less painful. Typically, it’s best to wax every 3-6 weeks, depending on your hair growth cycle.
- Don’t wax too early, as the hair may be too short for effective removal.
- Avoid waiting too long, as longer hair can make waxing more painful.
Following a regular waxing routine also helps your skin adapt to the process, reducing the sensitivity you may experience during the first few sessions.
Conclusion
Waxing at home can be an empowering and convenient way to manage unwanted hair. By choosing the right products, preparing your skin, and following these simple tips, you can achieve professional results from the comfort of your own bathroom. Remember, practice makes perfect, and over time, you’ll develop a routine that works best for your skin type and hair growth pattern.
So grab your wax kit, follow these steps, and enjoy smooth, hair-free skin without the hassle of frequent salon appointments!